Manage examiners
If you need information about the examiner role read The Examiner role docs.
If you need information aobut how to add examiners to a course, read the Adding students and examiners to the semester docs.
The menu item Manage examiners starts with two warnings when creating a new assignment. This is as it should be, since no examiners are yet connected with any students, nor are any examiners configured. To start this process, click the Manage examiners-link (or the Configure examiners-link in one of the warnings).
There are two major ways configure examiners for an assignment
You randomize it all
You manually control it all
Important
One student can be assigned to one or many examiners. One use case where this is useful is when one examiner needs to get a second opinion from another examiner.
Bulk organize examiners
If you chose the Bulk-organize examiners-link on the examiners page, you will have the options of organize examiners randomly or manually. Here you can also replace examiners.
Both randomly and manually have the same structure. You chose students and than you chose examiners. In this example, we will show how to configure examiners with the random option.
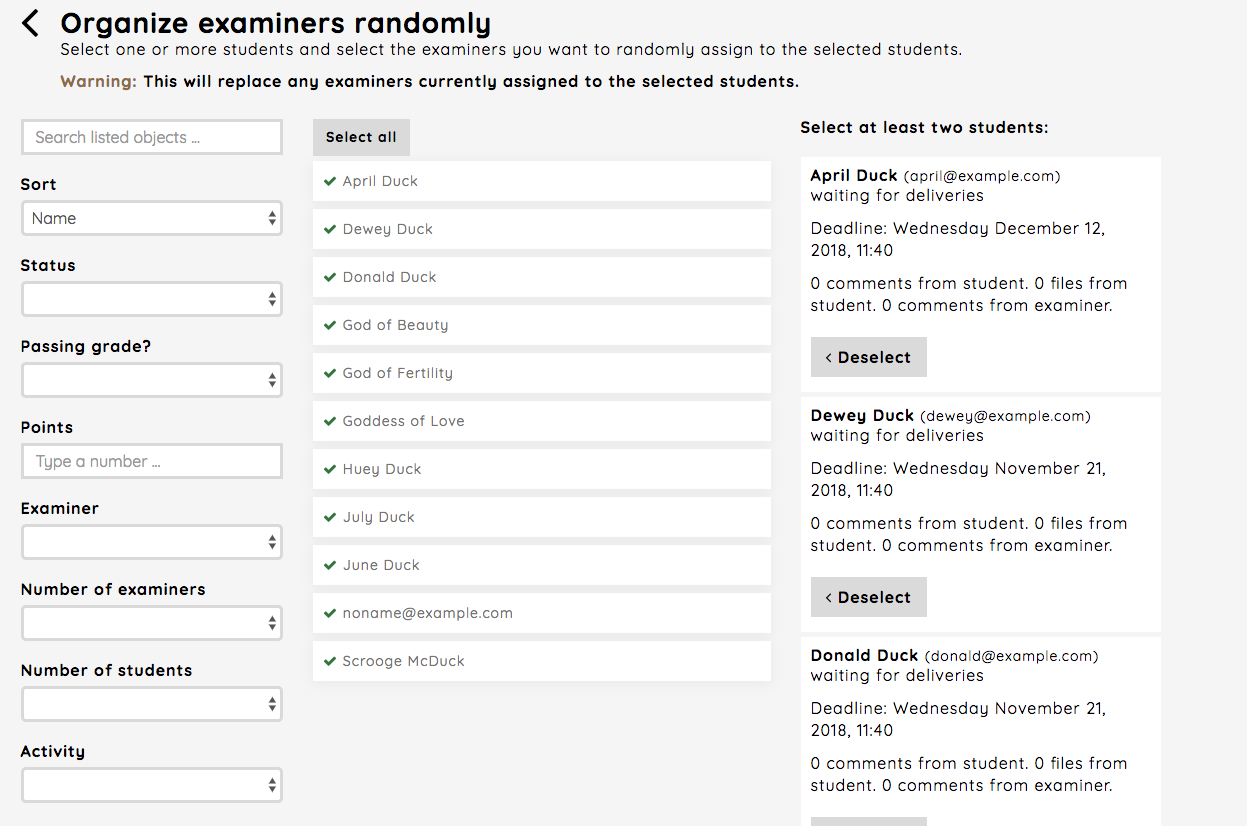
First the Organize examiners randomly-link is chosen.

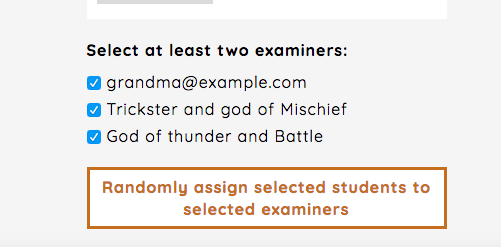
Next we chose all the students and than chose the examiners we want to use, before finally clicking the button. You can also use the filter options when assigning students to examiners.
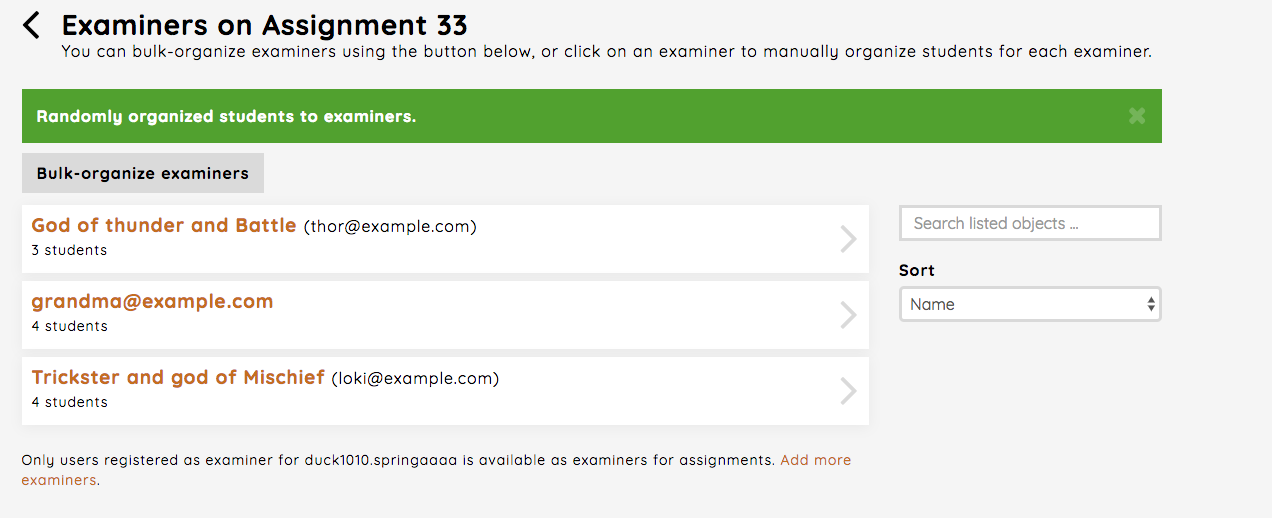
When the program is done assigning students to examiners, you’ll be taken back to the dashboard. You can now see how many students which are connected to each examiner.
Single examiner
You can also handle a single examiner by clicking the block element of the examiner in the dashboard. Here you can add or remove students for the chosen examiner.
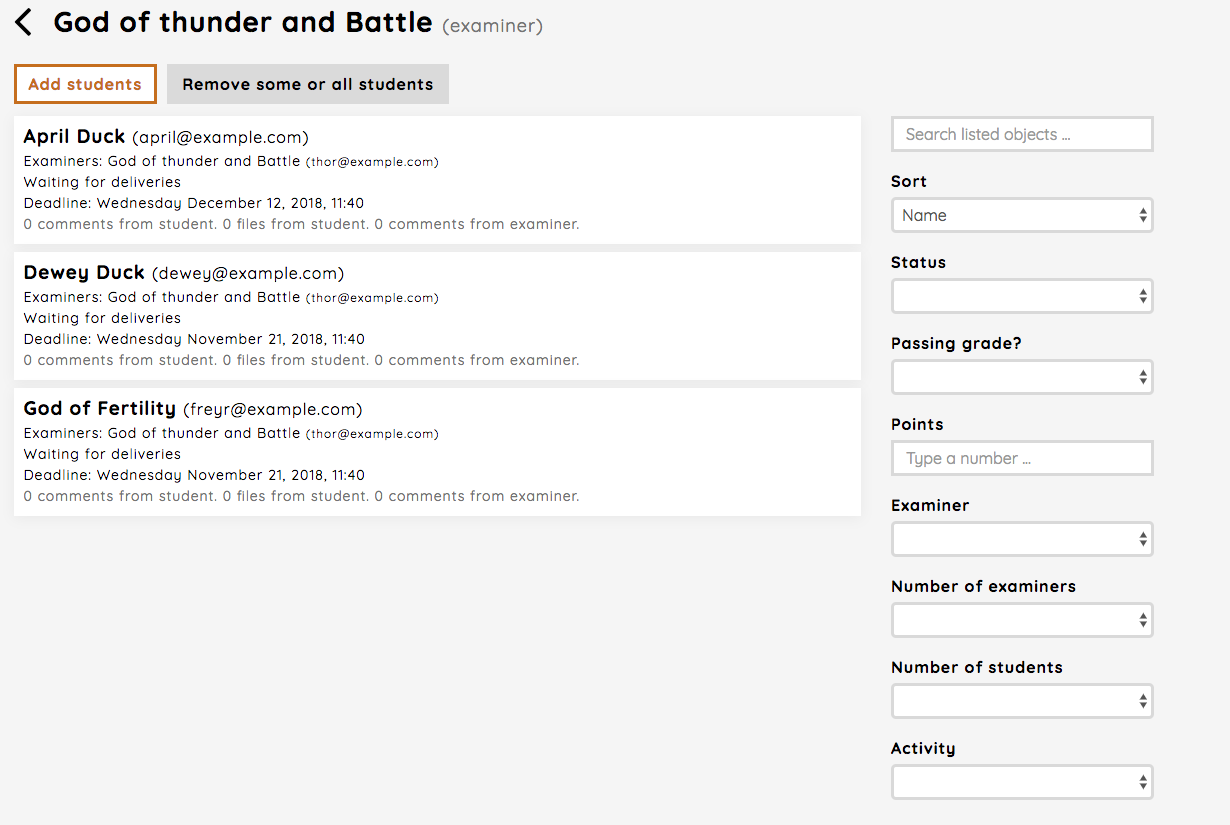
The Add students-link takes you to a view which works just like the one described in Bulk organize examiners, but without the random option. You chose one or more students and assign them to the examiner. And there are several filter options which you can use, for instance if you want an examiner to only handle students with a status of waiting for feedback or students which have not received any comments yet. The latter is found under the Activity filter.
When it comes to the Remove some or all students-link, this also works after the same principles as described in Bulk organize examiners. You chose which students to remove and then click the execute button.