Manage students
You manage students in an assignment by clicking the Manage students-link.
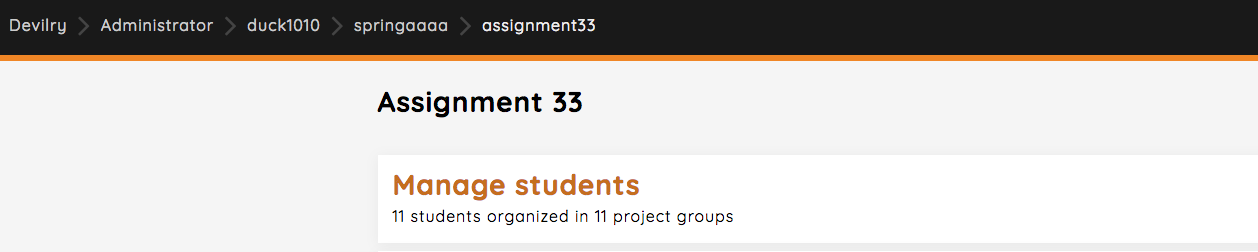
Here you can add or remove students, organize project groups, manage deadlines and see student information regarding the assignment.
Student information
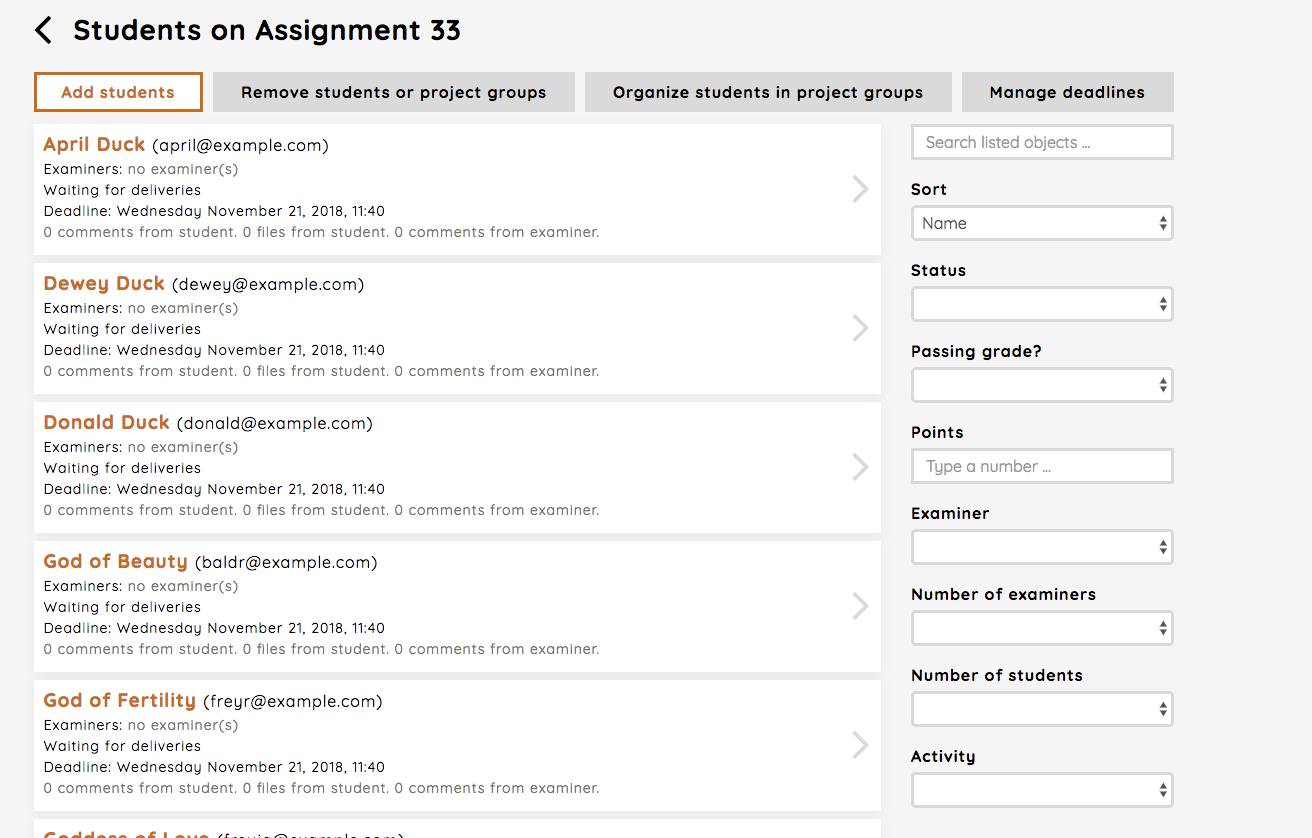
By clicking the block element of a student, you get information about the current status of deliveries for that student for the assignment. When working with an unpublished assignment, there is off course no information here.
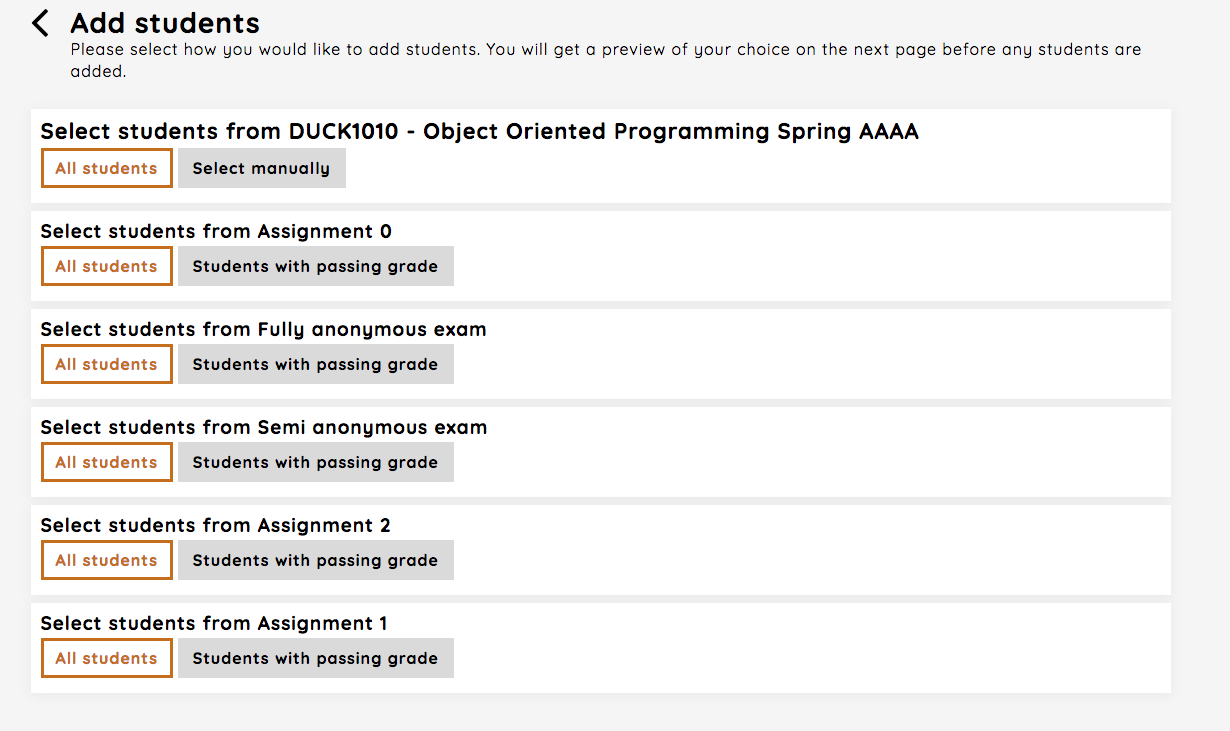
Add students
By following the Add students-link you can:
add all students from the course (automatically done when creating a new assignment for active students)
add students from other assignments in the course, either all or those which have passed the assignment
add students which have completed an exam for the course, either all or those which have passed the exam
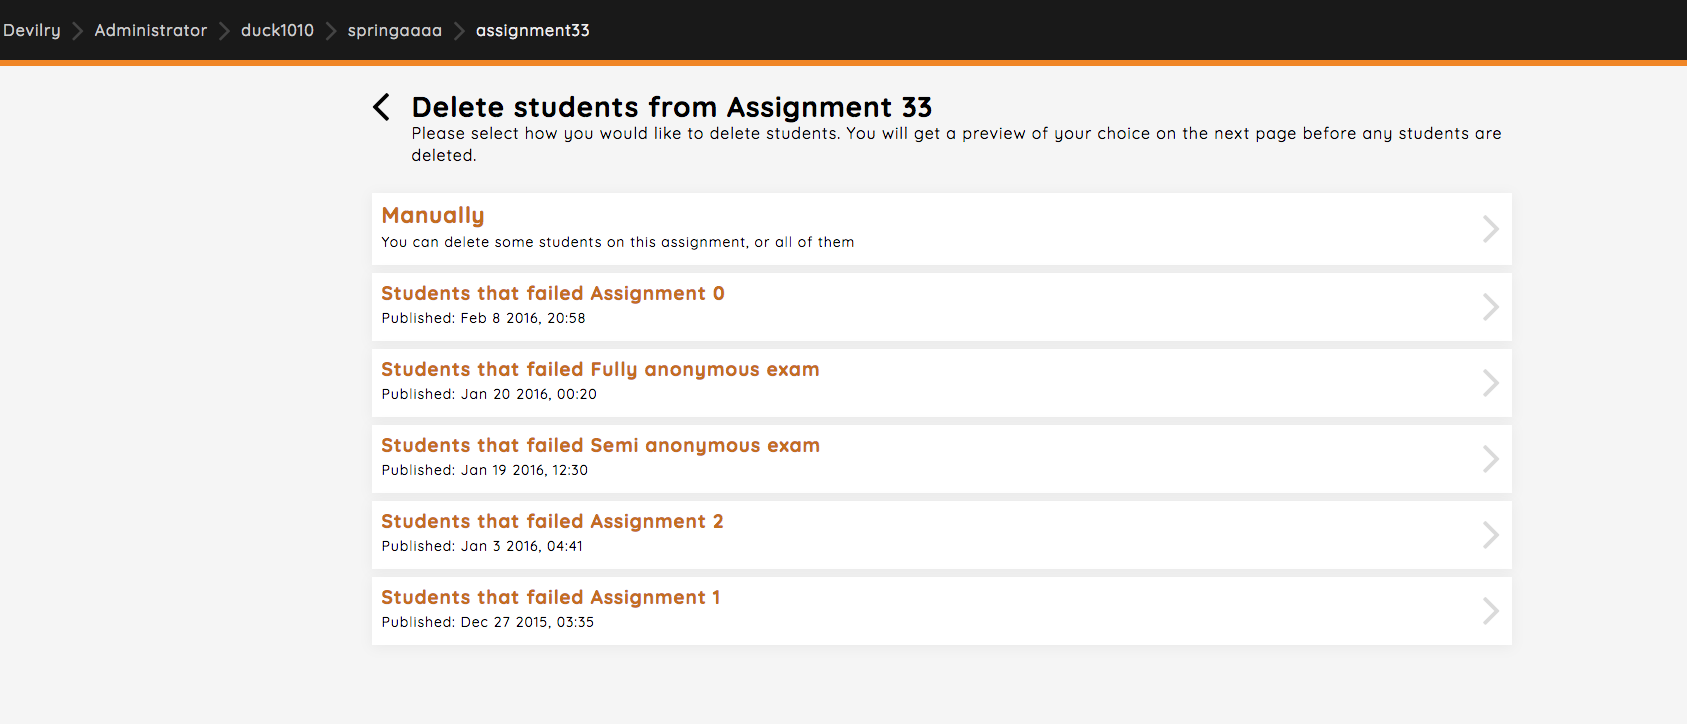
Remove students
By following the Remove students-link you can remove students from the assignment.

You have different options regarding which student(s) to remove from an assignment. You can chose those which did not pass another assignment or exam, or remove students manually.
Organize students in project groups
The Organize students in project groups-link gives you the opportunity to change the default organization of project groups.

As mentioned in Defaults for a new assignment a student is automatically put in a project group when a new assignment is created. If you want to have larger project groups for the assignment, you can do this on this page.
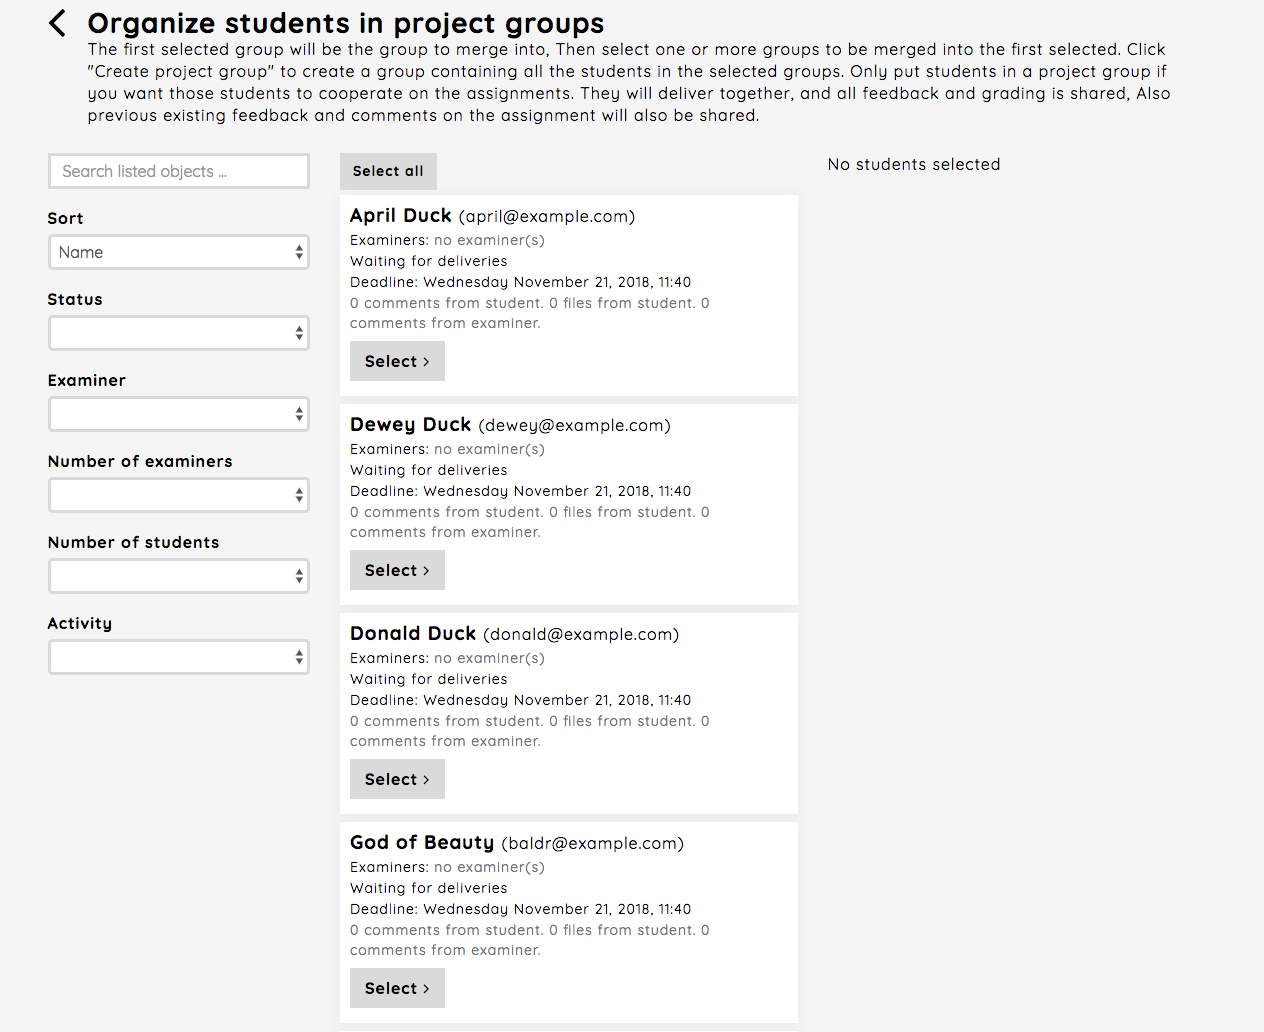
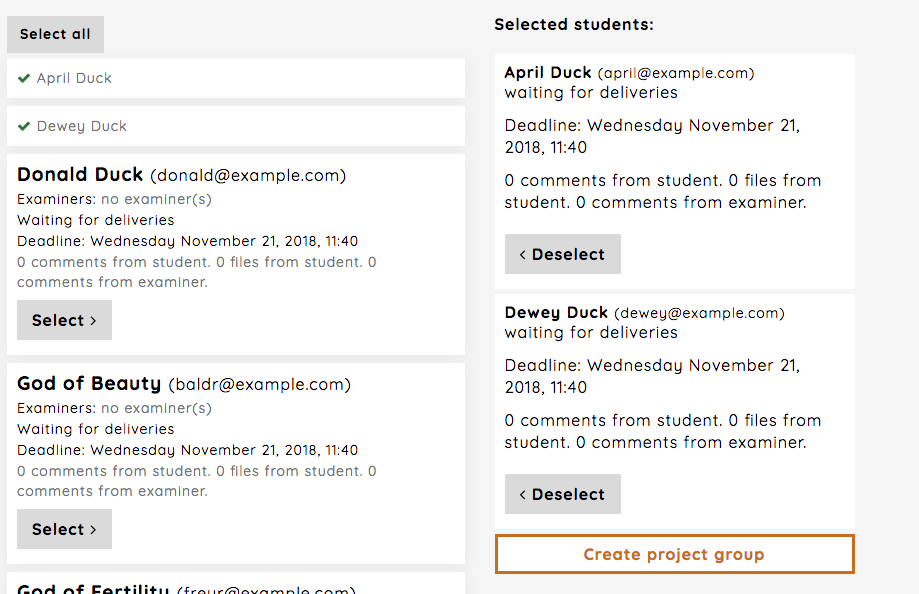
As an example we here want to have two students in a project group. We start with selecting April Duck and Dewey Duck in one project group, and than click the Create project group button.
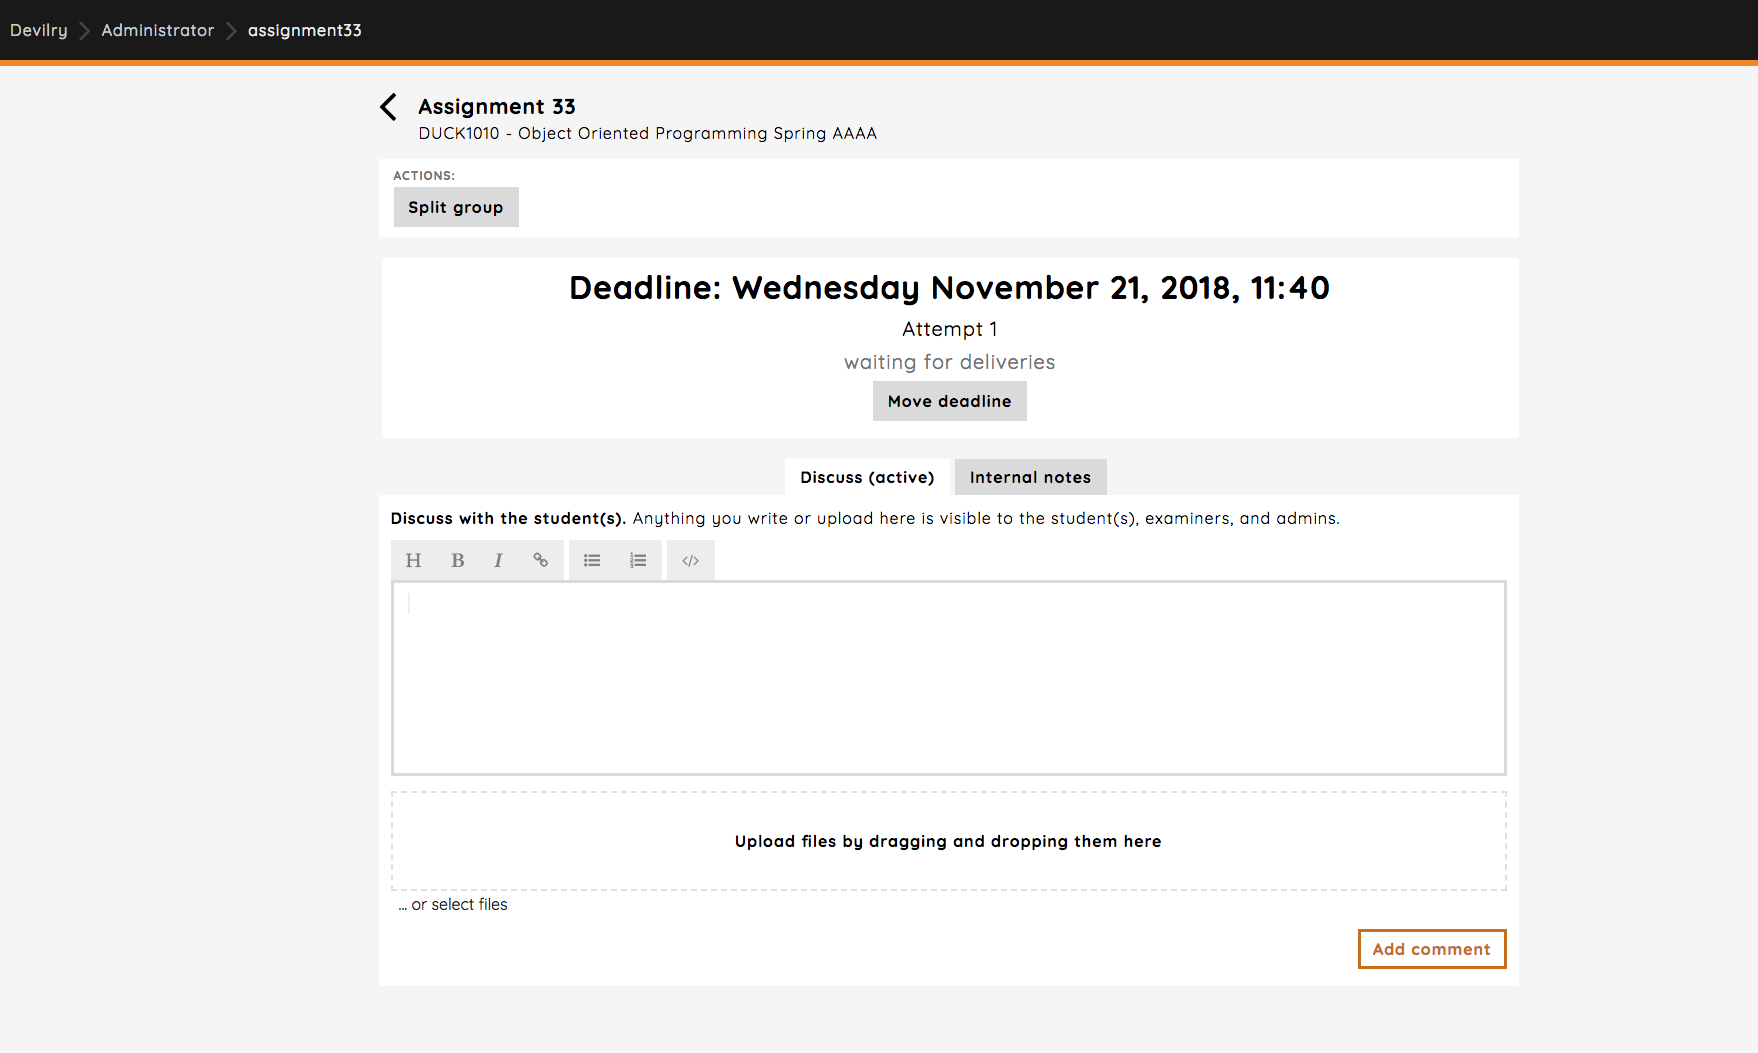
If you now go back to the Manage students page (back button two times after creating the new group) you’ll see there is a new group with two members. If you now want to undo this action, splitting the group back to two groups with a single student in each, you click the block element of the group as described in Student information. Here you chose the Split group-link.

In the next view you chose which student(s) to remove from the group.
Manage deadline
The last menu option in this section is the Manage deadline-link.

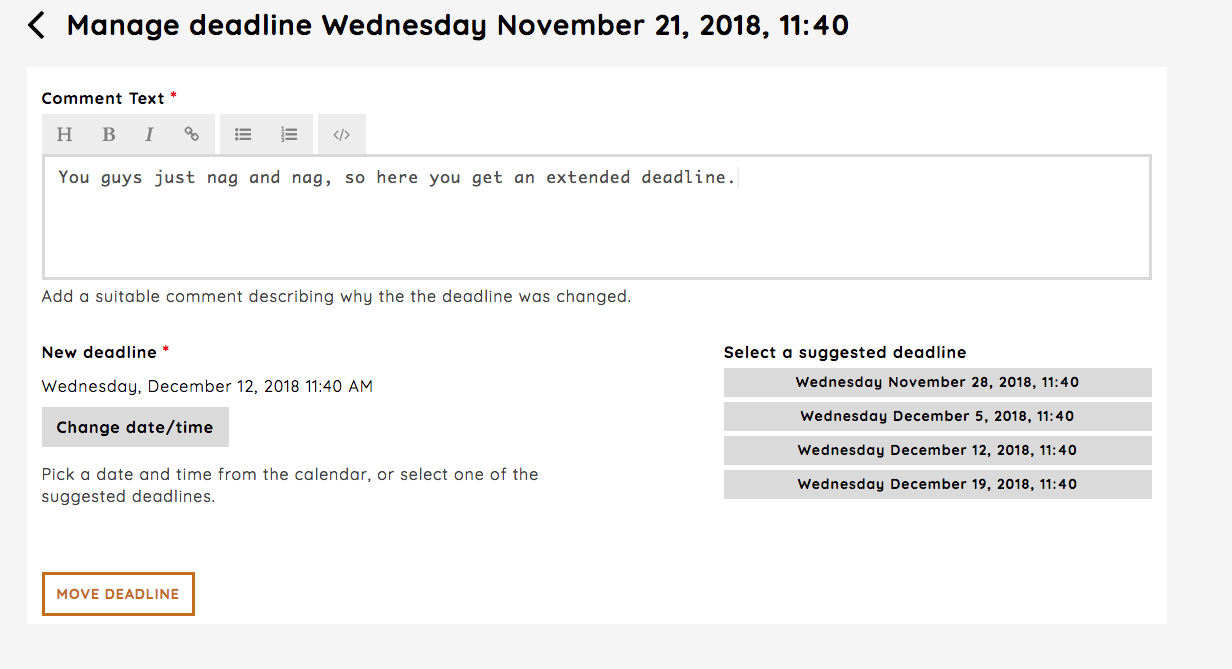
Here you have the possibility for change the deadline for delivery for all groups or for just some groups. After choosing which groups that should get an extended deadline, you have to add a comment which says why the chosen groups get the extension and set the new deadline. When you’re good to go, click Move deadline.